


Tips
How to use PN532 on MacOS with libnfc mfoc and mfcuk
Jan
What is PN532
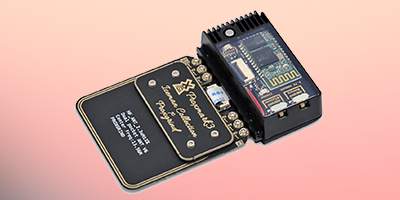
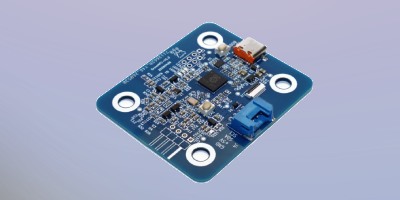
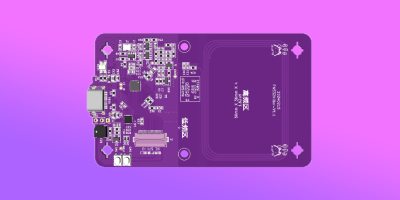
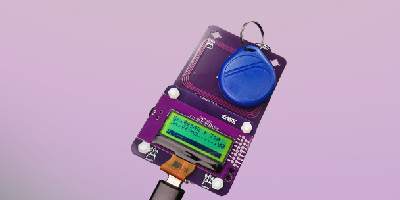
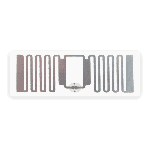
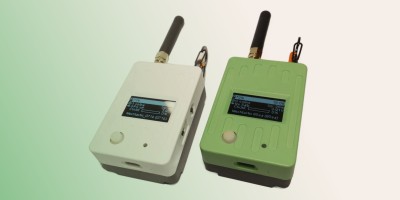
The PN532 hardware is widely used for the NFC module for reading the 13.56MHz tags and cards. The All-in-one PN532 reader and PN532 BLE reader by MTools Tec are the most popular PN532 reader for all platforms which includes Android, iOS, Windows, Linux, and macOS. The PN532 reader is also widely used for Arduino, Raspberry Pi, and other MCU platforms.
What is libnfc
libnfc is a free software library for NFC devices. It provides a cross-platform API to NFC devices and supports many different NFC readers and tags. It is used by many applications to read and write NFC tags. The URL of the libnfc repository on Github is https://github.com/nfc-tools/libnfc.
What is mfoc
The mfoc stands for Mifare Classic Offline Cracker. It is an open-source implementation of an “offline nested” attack by Nethemba. It is used to recover the keys of Mifare Classic tags. The URL of the mfoc repository on Github is https://github.com/nfc-tools/mfoc. The mfoc is able to recover the keys of Mifare Classic tags only if has a known key of the tag. The default key of the Mifare Classic tag is FFFFFFFFFFFF. So you can have a try with Mifare Classic Tools or MTools App to check if the keys of the tag are partially encrypted or fully encrypted. If you can find 1 known key, you can use mfoc to recover the keys of the tag.
What is mfcuk
The mfcuk stands for MiFare Classic Universal toolKit. The tool is named Mifare Classic DarkSide Key Recovery Tool. It is used to recover the keys of Mifare Classic tags. The URL of the mfcuk repository on Github is https://github.com/nfc-tools/mfcuk. mfcuk cracks the first key through the loopholes in the algorithm. If the key of a certain sector is cracked, you can use the mfoc tool to crack the password of other sectors with the nested authentication attack.
Preparation
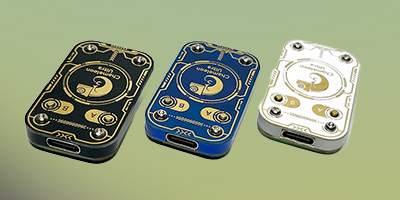
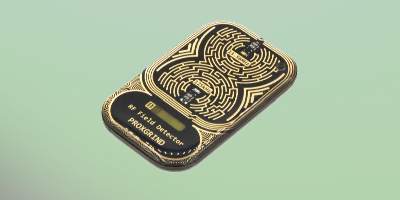
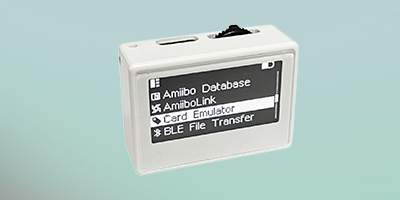
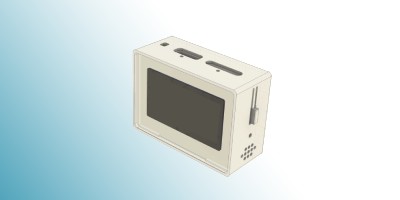
- All-in-one PN532, PN532 BLE or PCR532 Reader
- USB Cable
- macOS 10.12 or later
Installation of the USB Serial Driver
The PN532 and PCR532 Reader by MTools Tec are based on the CH340E USB to serial chip. So you need to install the USB serial driver for macOS. The URL of the CH340G USB to the serial driver is https://www.wch.cn/download/CH341SER_MAC_ZIP.html. The driver is also included in the package of the reader.
- Download the driver from the URL above.
- Click the install button after opening the CH34xVCPDriver app.
- Reboot the device after the installation.
- Test the USB serial driver by using the terminal. The command is
ls /dev/tty.*. You can see the USB serial port like/dev/tty.wchusbserial1410. The port name may be different on your device.
Installation of libnfc
- Install the Homebrew package manager. The URL of Homebrew is https://brew.sh/. Skip this step if you have installed Homebrew.
- Run the command
brew install libnfc. The libnfc will be installed automatically. - Run the command
brew link libnfc. The libnfc will be linked to the /usr/local/lib directory. - Connect the PN532 or PCR532 Reader to the device. The USB serial port will be automatically detected by the system. Run
nfc-listthe command to check if the reader is detected. The output of the command is like below:
➜  ~ nfc-list
nfc-list uses libnfc 1.8.0
NFC device: pn532_uart:/dev/tty.usbserial-2140 opened
1 ISO14443A passive target(s) found:
ISO/IEC 14443A (106 kbps) target:
    ATQA (SENS_RES): 00  04
       UID (NFCID1): 01  02  03  04
      SAK (SEL_RES): 08
Trouble Shooting of libnfc
If it shows an error message like Unable to open NFC device: pn532_uart:/dev/tty.wchusbserialxxxxxx. You need to change the configuration of the libnfc. Run the command sudo nano /usr/local/etc/nfc/libnfc.conf. Change the allow_autoscan = true to allow_autoscan = false. Change the allow_intrusive_scan = true to allow_intrusive_scan = false. Change the device.name = "pn532_uart:/dev/tty.wchusbserialxxxxxx" to device.name = "pn532_uart:/dev/tty.wchusbserialxxxxxx:pn532". Save the file and exit. Run the command nfc-list again. It should work now.
Installation of mfoc
- Run the command
brew install mfoc. The mfoc will be installed automatically. - Learn the usage of mfoc by running the command
mfoc -h. The usage of mfoc is like below:
➜  ~ mfoc -h
Usage: mfoc [-h] [-k key]... [-P probnum] [-T tolerance] [-O output]

  h     print this help and exit
  k     try the specified key in addition to the default keys
  P     number of probes per sector, instead of default of 20
  T     nonce tolerance half-range, instead of default of 20
        (i.e., 40 for the total range, in both directions)
  O     file in which the card contents will be written (REQUIRED)

Example: mfoc -O mycard.mfd
Example: mfoc -k ffffeeeedddd -O mycard.mfd
Example: mfoc -P 50 -T 30 -O mycard.mfd

This is mfoc version 0.10.7.
For more information, run: 'man mfoc'.
Cracking the keys of the Mifare Classic tag by mfoc Run the command sudo mfoc -O mycard.mfd.
Installation of mfcuk
- Run the command
brew install mfcuk. The mfcuk will be installed automatically. - Try the command
mfcuk -hto learn the usage of mfcuk. The usage of mfcuk is like below:
➜  ~ mfcuk -h
Usage: mfcuk [options] [command] [command options]

Options:
  -h, --help            show this help message and exit
  -v, --verbose         verbose output
  -d, --debug           debug output
  -q, --quiet           quiet output
  -V, --version         show program's version number and exit
  -c, --card=           card type (mf1k, mf2k, mf4k, mf1k-s50, mf2k-s70,
                        mf4k-s70, mfx)
  -t, --timeout=        timeout in seconds (default: 5)
  -a, --auth=           authentication mode (a, b, ab, ba, auto)
  -k, --key=            key to use (default: 000000000000)
    -n, --nonce=          nonce to use (default: 00000000)
    -o, --offset=         offset to start from (default: 0)
    -s, --sector=         sector to start from (default: 0)
    -e, --endsector=      sector to end at (default: 63)
    -p, --probes=         number of probes per sector (default: 20)
    -l, --tolerance=      nonce tolerance half-range (default: 20)
    -f, --file=           file to write to
    -r, --read            read card
    -w, --write           write card
Cracking the keys of the Mifare Classic tag by mfcuk Run the command sudo mfcuk -C -R 0:A -s 250 -S 250 -v 3. It will take several minutes to hours to crack a key from a sector. The output of the command is like below:
INFO: block 4 recovered KEY: 1a7f6b8c
After getting the first key, we can exit mfcuk and use mfoc and the known key to decrypt the keys of the remaining sectors again.
sudo mfoc -k 1a7f6b8c -O mycard.mfd
It will take several minutes to crack the keys of the remaining sectors.
Write the mfd file to a blank Mifare Classic tag
The libnfc command contains the nfc-mfclassic tool. It can be used to write the mfd file to a blank Mifare Classic tag.
How to use nfc-mfclassic
Run the command nfc-mfclassic -h to learn the usage of nfc-mfclassic. The usage of nfc-mfclassic is like below:
➜  ~ nfc-mfclassic -h
Usage: nfc-mfclassic f|r|R|w|W a|b u|U<01ab23cd> <dump.mfd> [<keys.mfd> [f]]
  f|r|R|w|W     - Perform format (f) or read from (r) or unlocked read from (R) or write to (w) or unlocked write to (W) card
                  *** format will reset all keys to FFFFFFFFFFFF and all data to 00 and all ACLs to default
                  *** unlocked read does not require authentication and will reveal A and B keys
                  *** note that unlocked write will attempt to overwrite block 0 including UID
                  *** unlocking only works with special Mifare 1K cards (Chinese clones)
  a|A|b|B       - Use A or B keys for action; Halt on errors (a|b) or tolerate errors (A|B)
  u|U           - Use any (u) uid or supply a uid specifically as U01ab23cd.
  <dump.mfd>    - MiFare Dump (MFD) used to write (card to MFD) or (MFD to card)
  <keys.mfd>    - MiFare Dump (MFD) that contain the keys (optional)
  f             - Force using the keyfile even if UID does not match (optional)
Examples:

  Read card to file, using key A:

    nfc-mfclassic r a u mycard.mfd

  Write file to blank card, using key A:

    nfc-mfclassic w a u mycard.mfd

  Write new data and/or keys to previously written card, using key A:

    nfc-mfclassic w a u newdata.mfd mycard.mfd

  Format/wipe card (note two passes required to ensure writes for all ACL cases):

    nfc-mfclassic f A u dummy.mfd keyfile.mfd f
    nfc-mfclassic f B u dummy.mfd keyfile.mfd f

  Read card to file, using key A and uid 0x01 0xab 0x23 0xcd:

    nfc-mfclassic r a U01ab23cd mycard.mfd
Run the command nfc-mfclassic w mycard.mfd. It will take several seconds to write the mfd file to the tag.
Change the UID of the gen1 Mifare Classic tag
The libnfc command contains the nfc-mfsetuid tool. It can be used to change the UID of the gen1 Mifare Classic tag. You can choose to change the UID only or format the tag at the same time.
How to change the UID only
Run the command nfc-mfsetuid 11223344. It will take several seconds to change the UID of the tag.
How to change the UID and format all sectors
Run the command nfc-mfsetuid -f 11223344. It will take several seconds to change the UID of the tag and format all sectors.
Excelente guía para usar PN532 con libnfc mfoc y mfcuk en MacOS. Muy detallado y fácil de seguir. ¡Gracias!
Gracias por compartir este tutorial sobre cómo usar PN532 con libnfc mfoc y mfcuk en MacOS, fue de mucha ayuda para mí.